
Complicated crown fractures in the anterior region present both functional and aesthetic challenges. They require a restorative approach that closely mimics natural tooth structure. Thanks to modern developments in adhesive dentistry and composite materials, it is possible to achieve highly aesthetic outcomes in a minimally invasive way.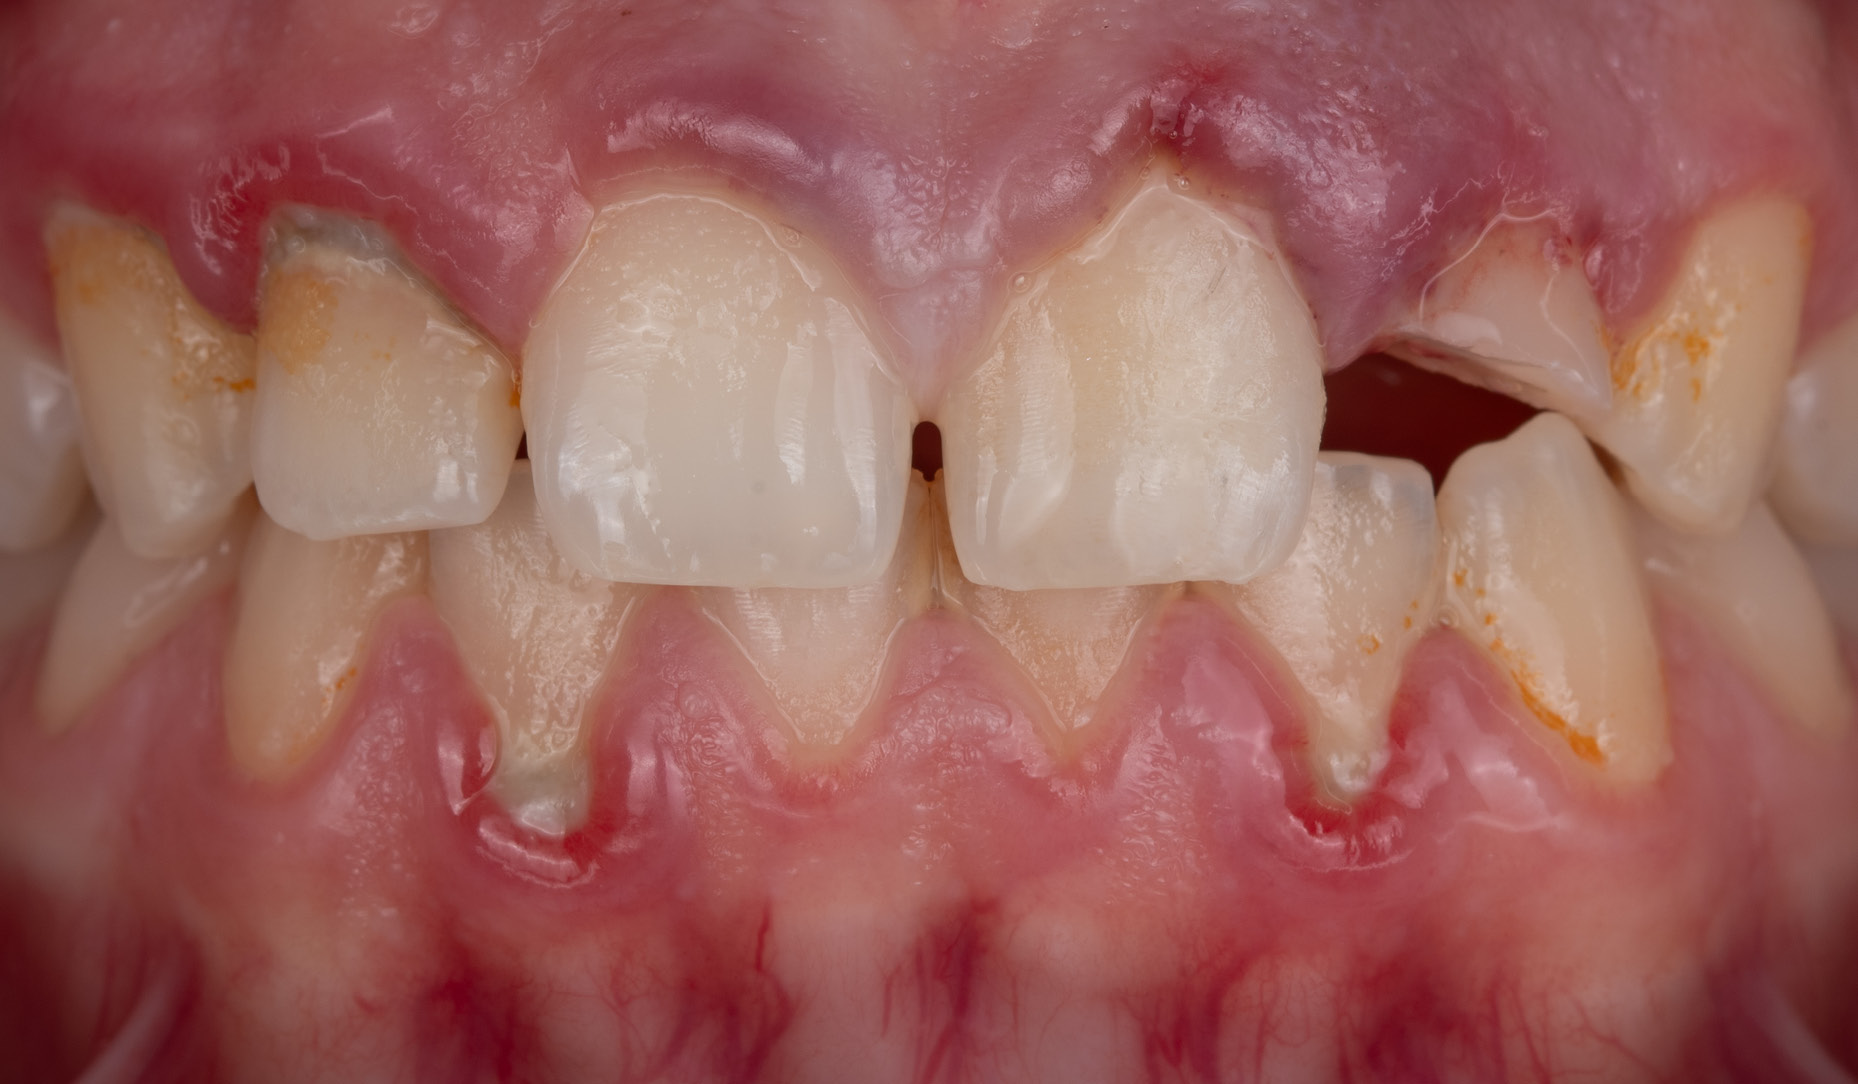
This case report outlines a straightforward, yet highly aesthetic approach to restoring a traumatised lateral incisor using a polychromatic layering technique. By combining precise shade selection, anatomical analysis, and controlled composite layering, it is possible to recreate the optical properties of natural dentition and achieve seamless optical integration.
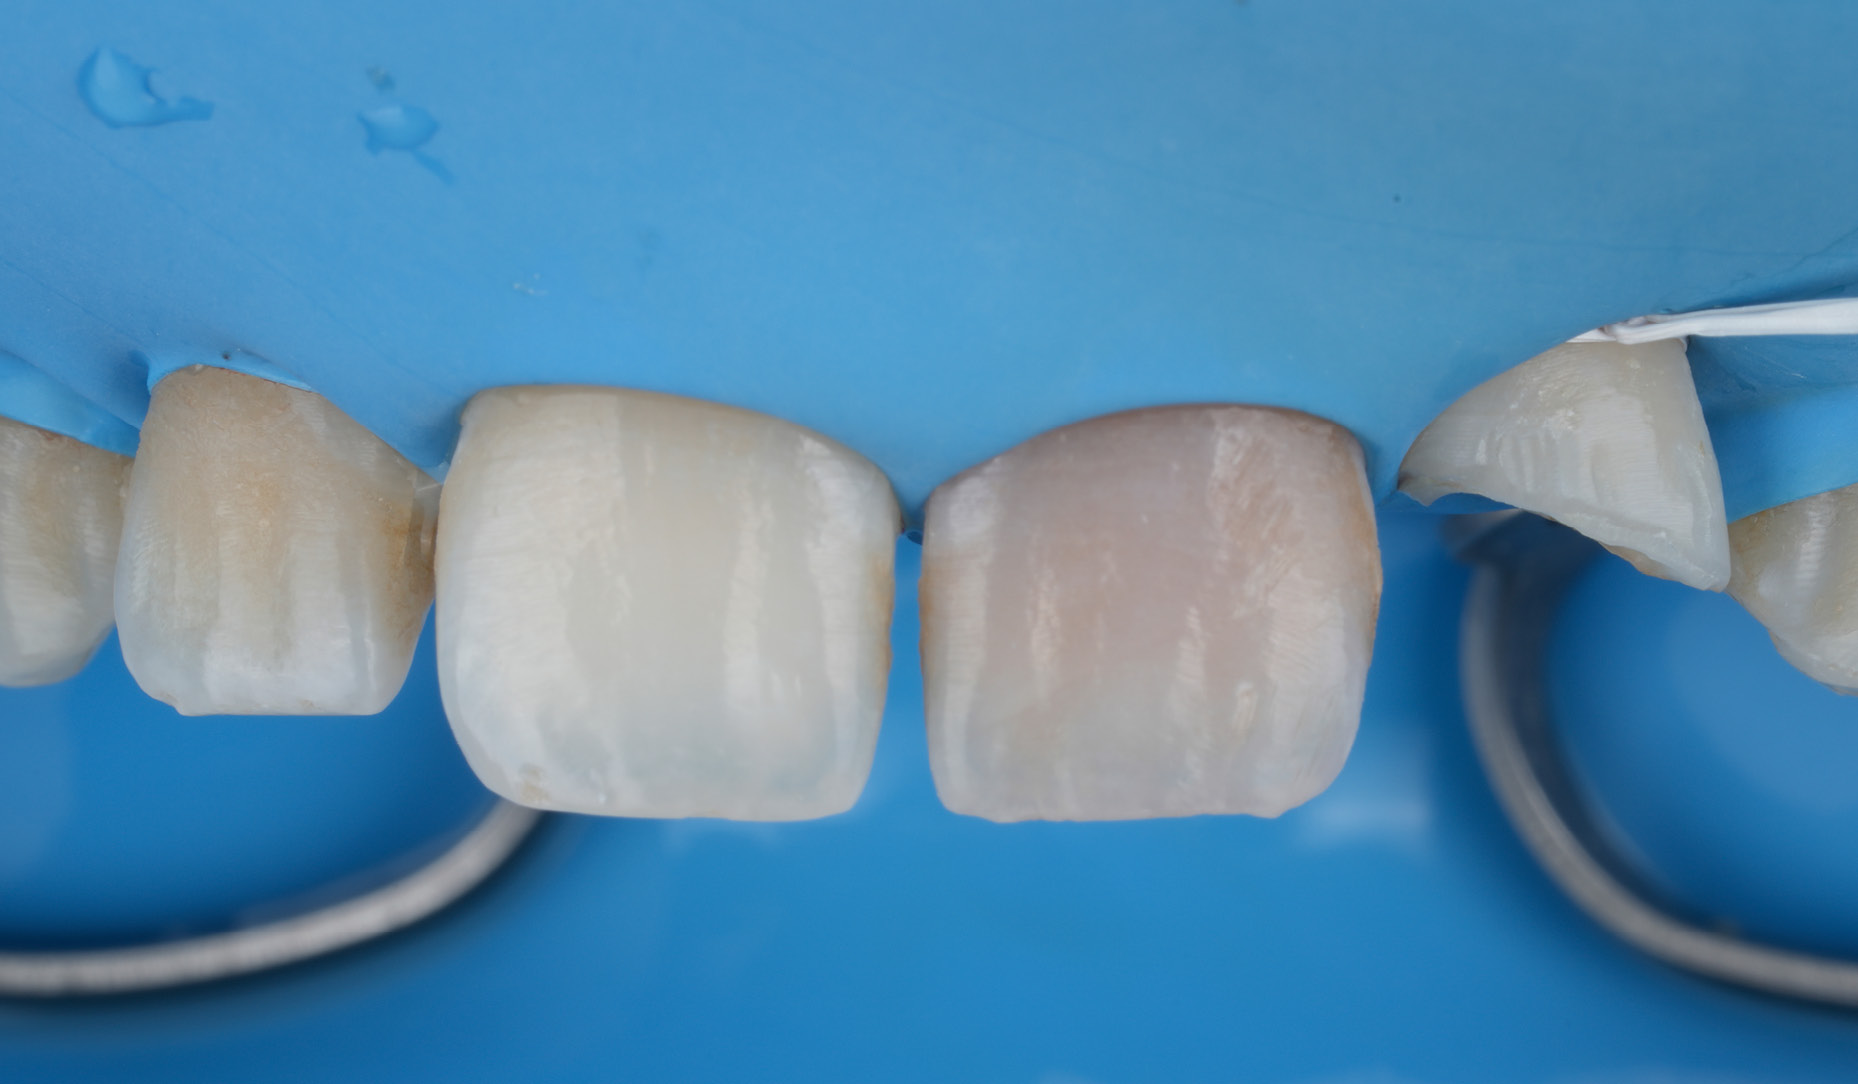
Figure 1: Initial presentation of a complicated crown fracture on tooth #22 following dental trauma.
Case overview
A young female patient visited our clinic with a history of dental trauma, which resulted in a complicated crown fracture of her maxillary left lateral incisor (tooth #22, FDI notation). After completing the necessary endodontic and periodontal treatments for the affected tooth, we placed a temporary composite restoration. This case outlines a straightforward yet highly aesthetic approach to restoring the tooth using a polychromatic layering technique.
Visual assessment and shade matching
Before beginning the definitive restorative phase, we took initial baseline photographs. Using a cross-polarized filter allowed us to evaluate the true internal optical properties of the adjacent dentition without distracting light reflections. Shade matching was performed using a bilaminar colour selection technique in conjunction with the cross-polarized filter to provide for absolute precision.
 |
 |
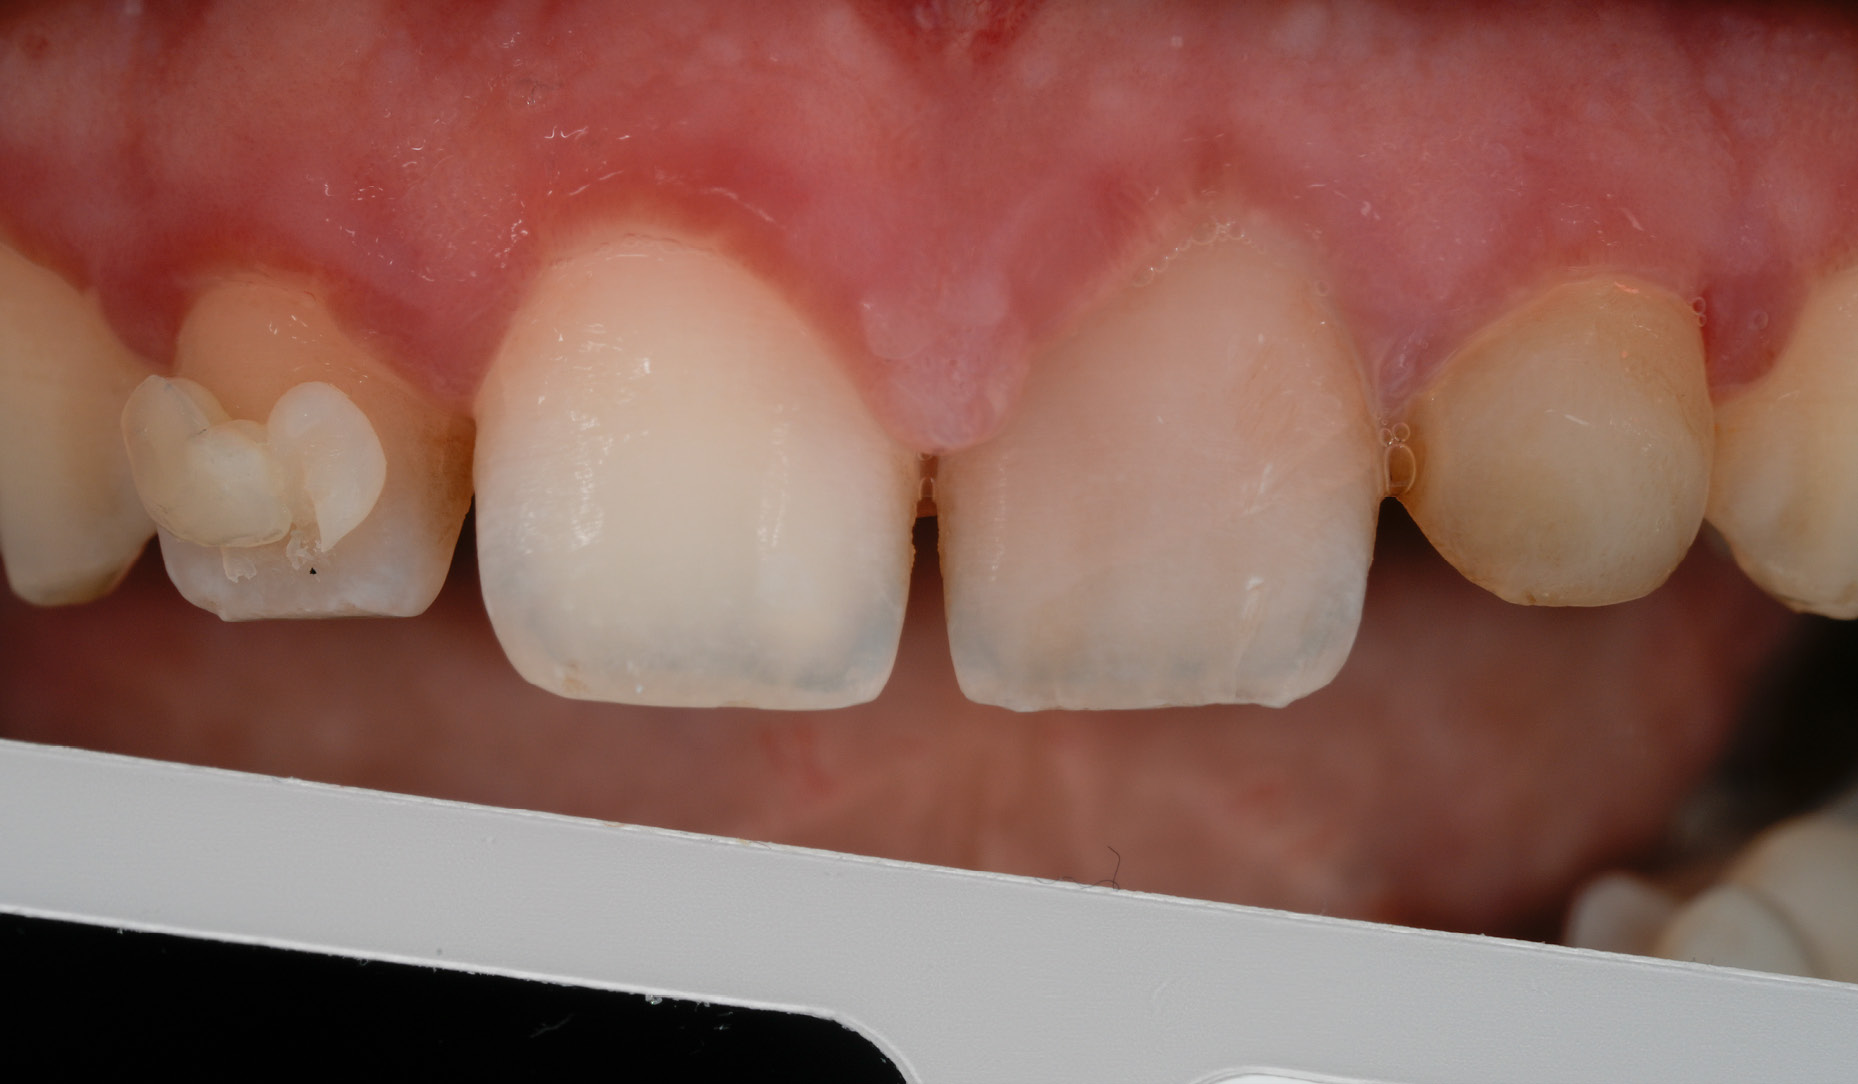 |
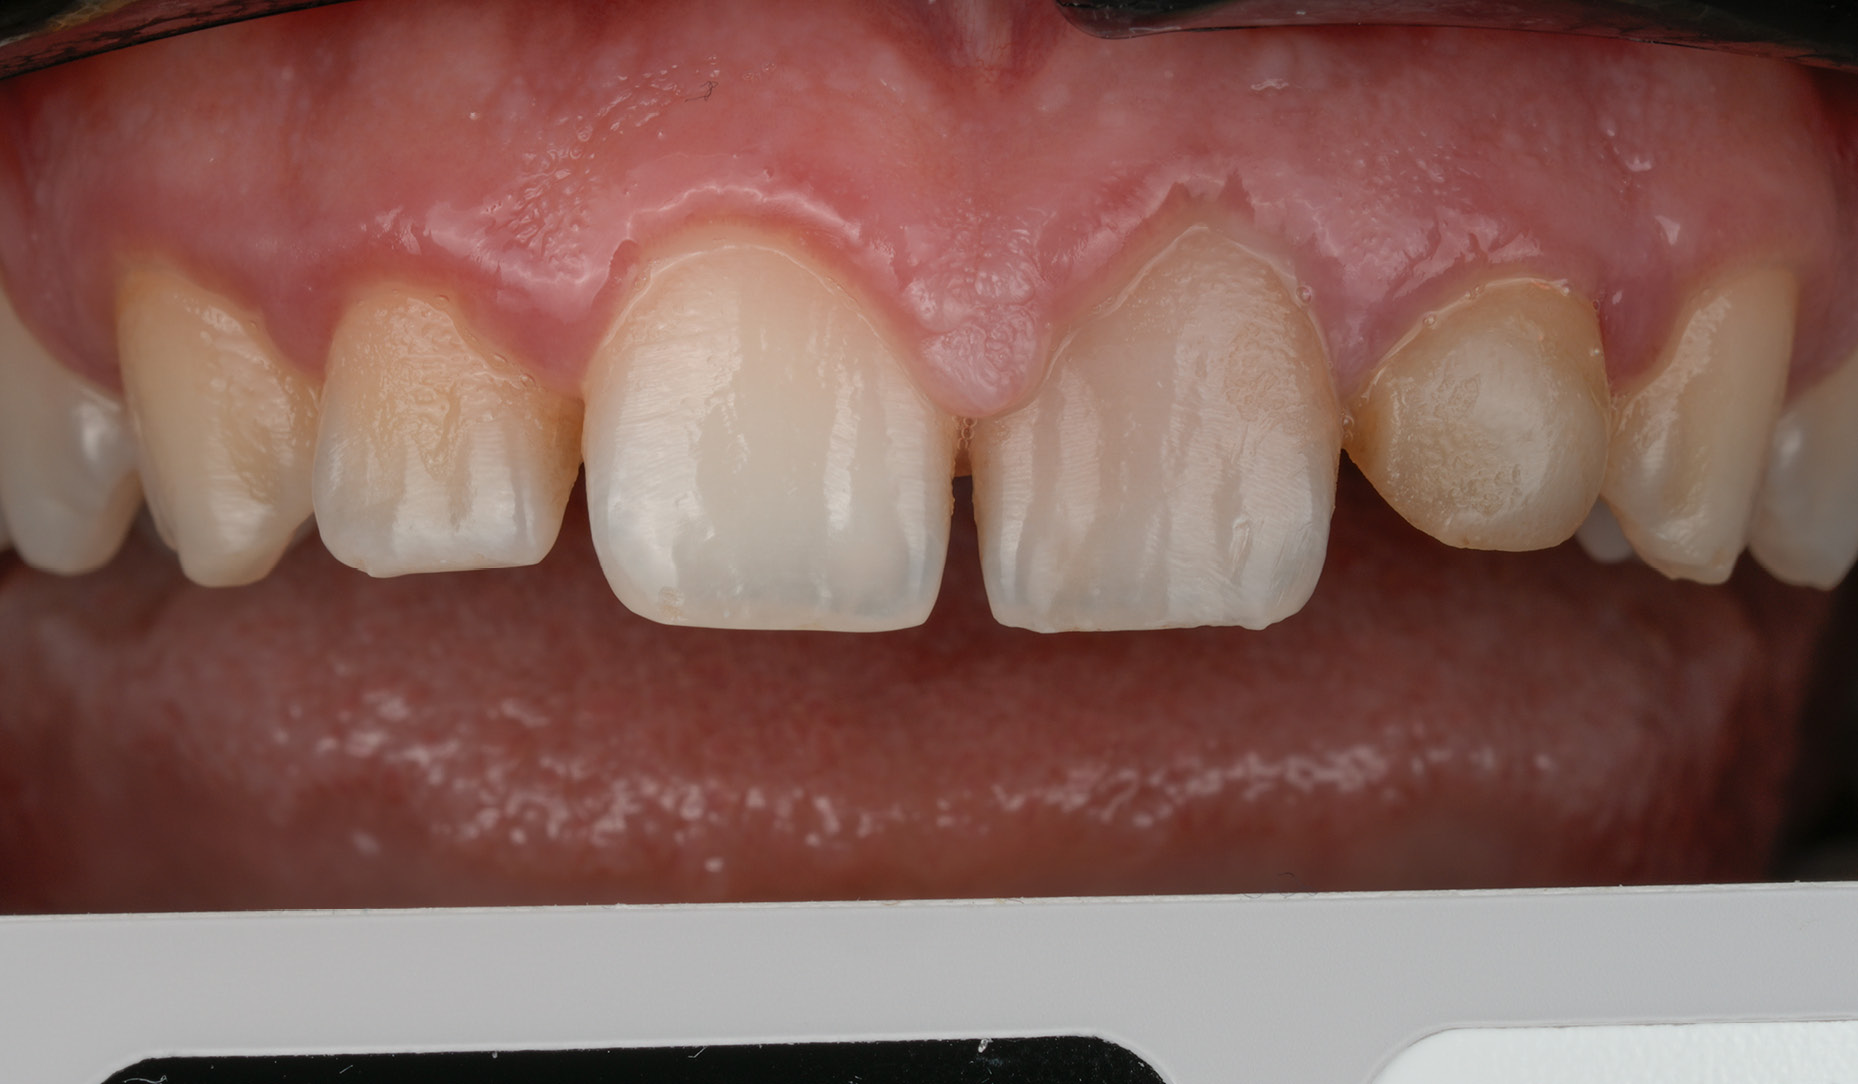
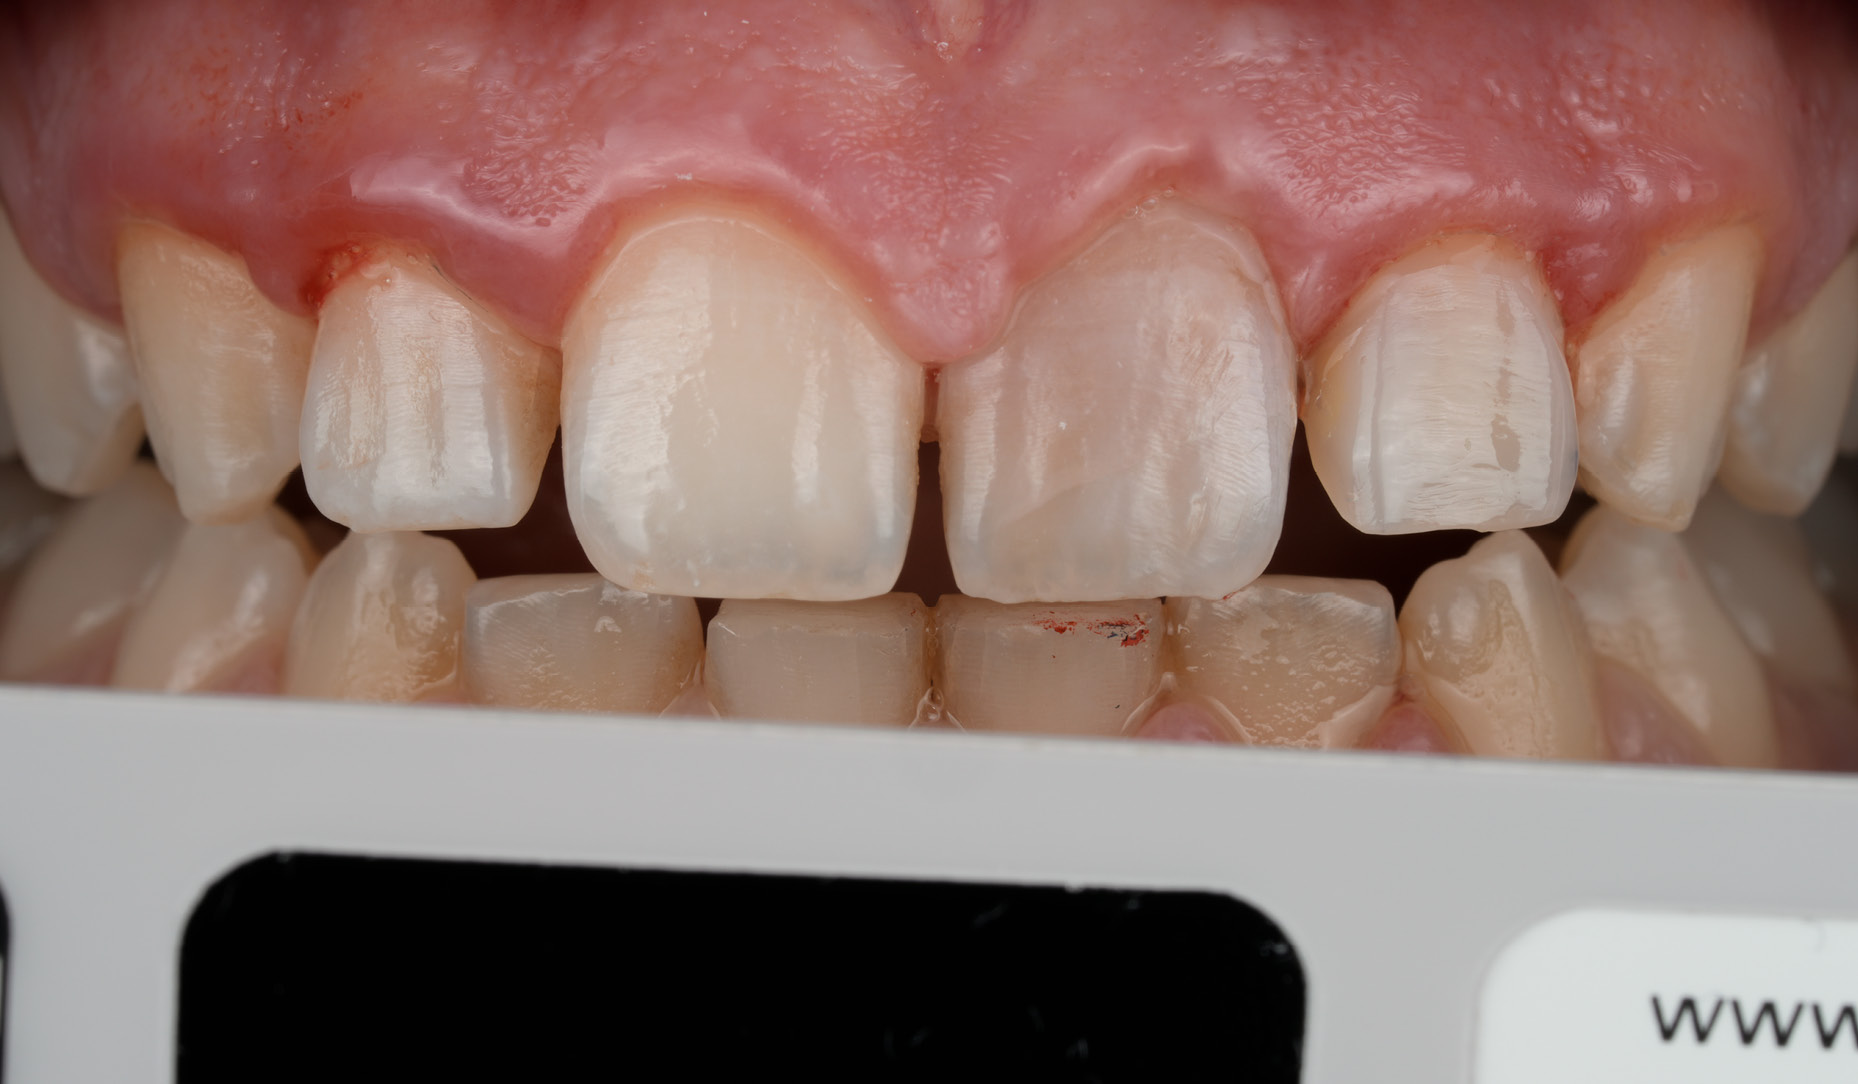
Figure 2: Tooth #22 temporarily restored with composite resin after the completion of endodontic and periodontal treatments
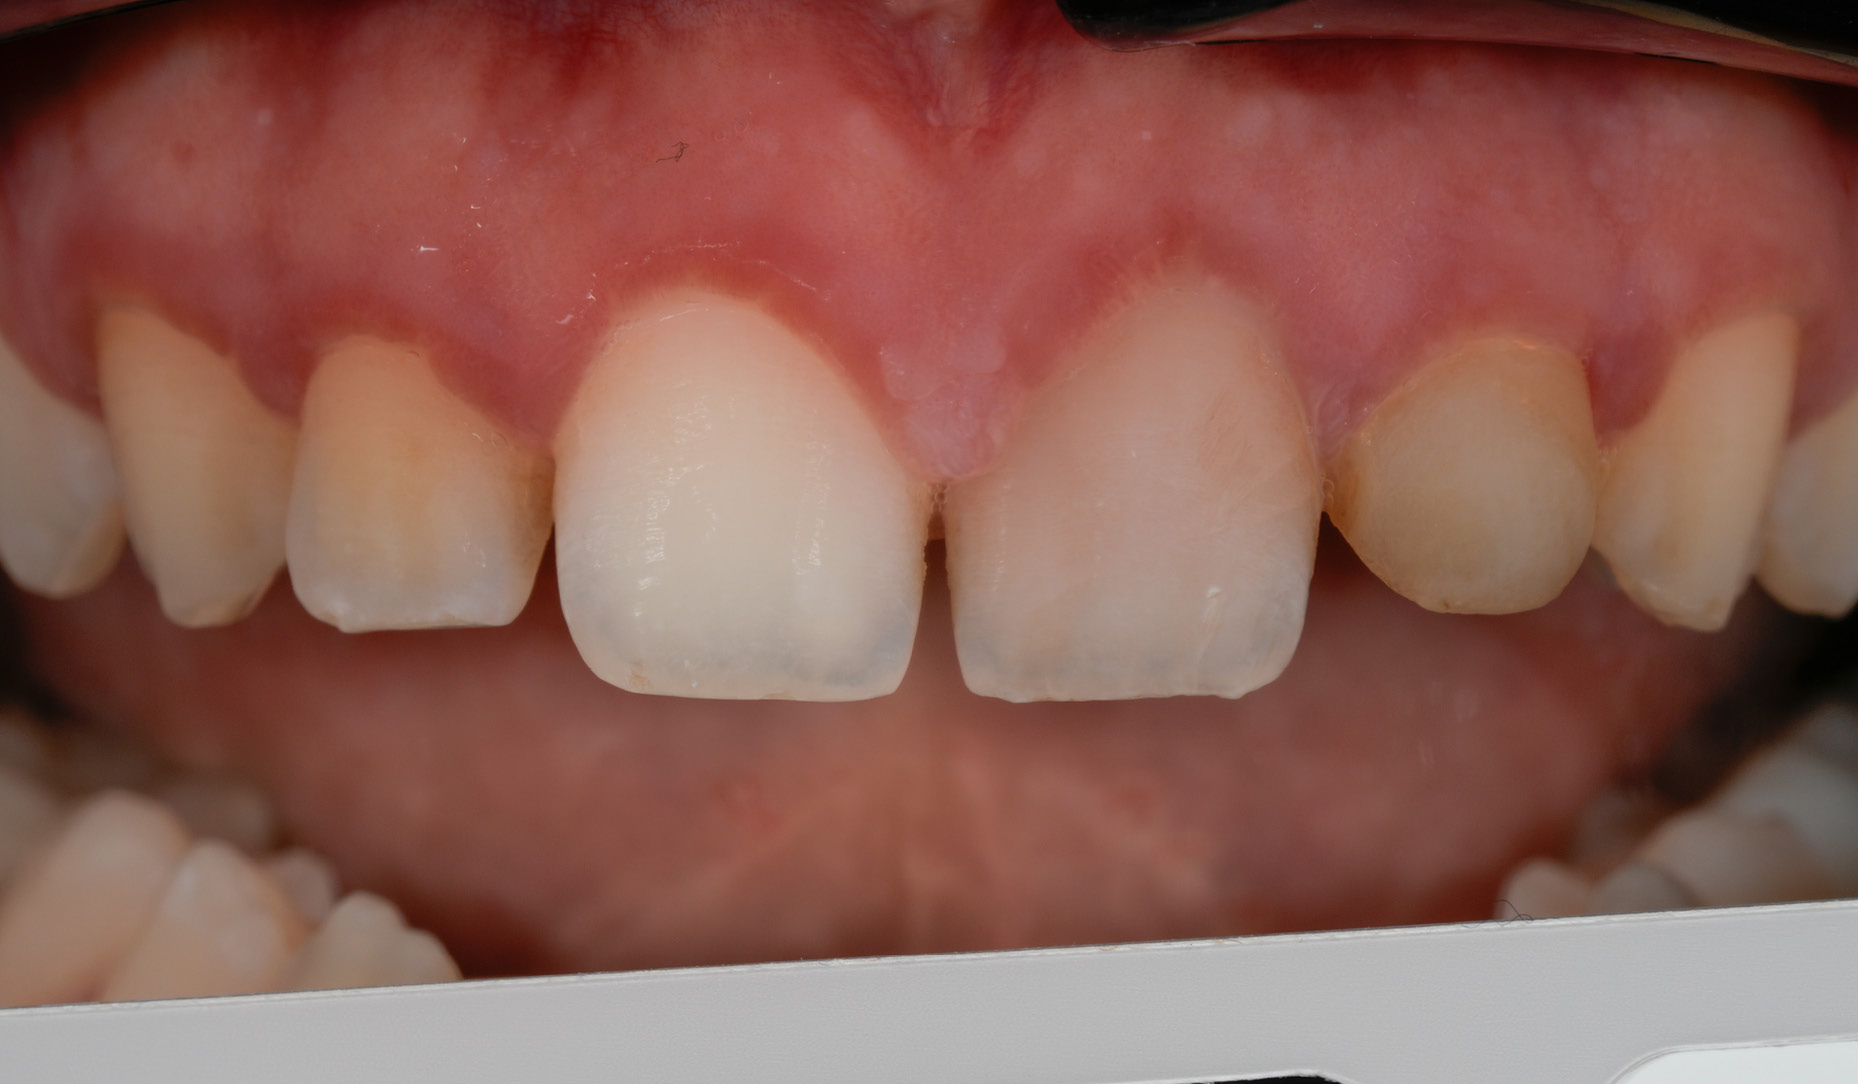
Figure 3: Pre-operative view and cross-polarized photograph taken before initiating the definitive restorative treatment.
Figure 4: Shade selection performed using a bilaminar technique combined with an image taken with a cross-polarized filter for accurate colour mapping. |
Clinical execution
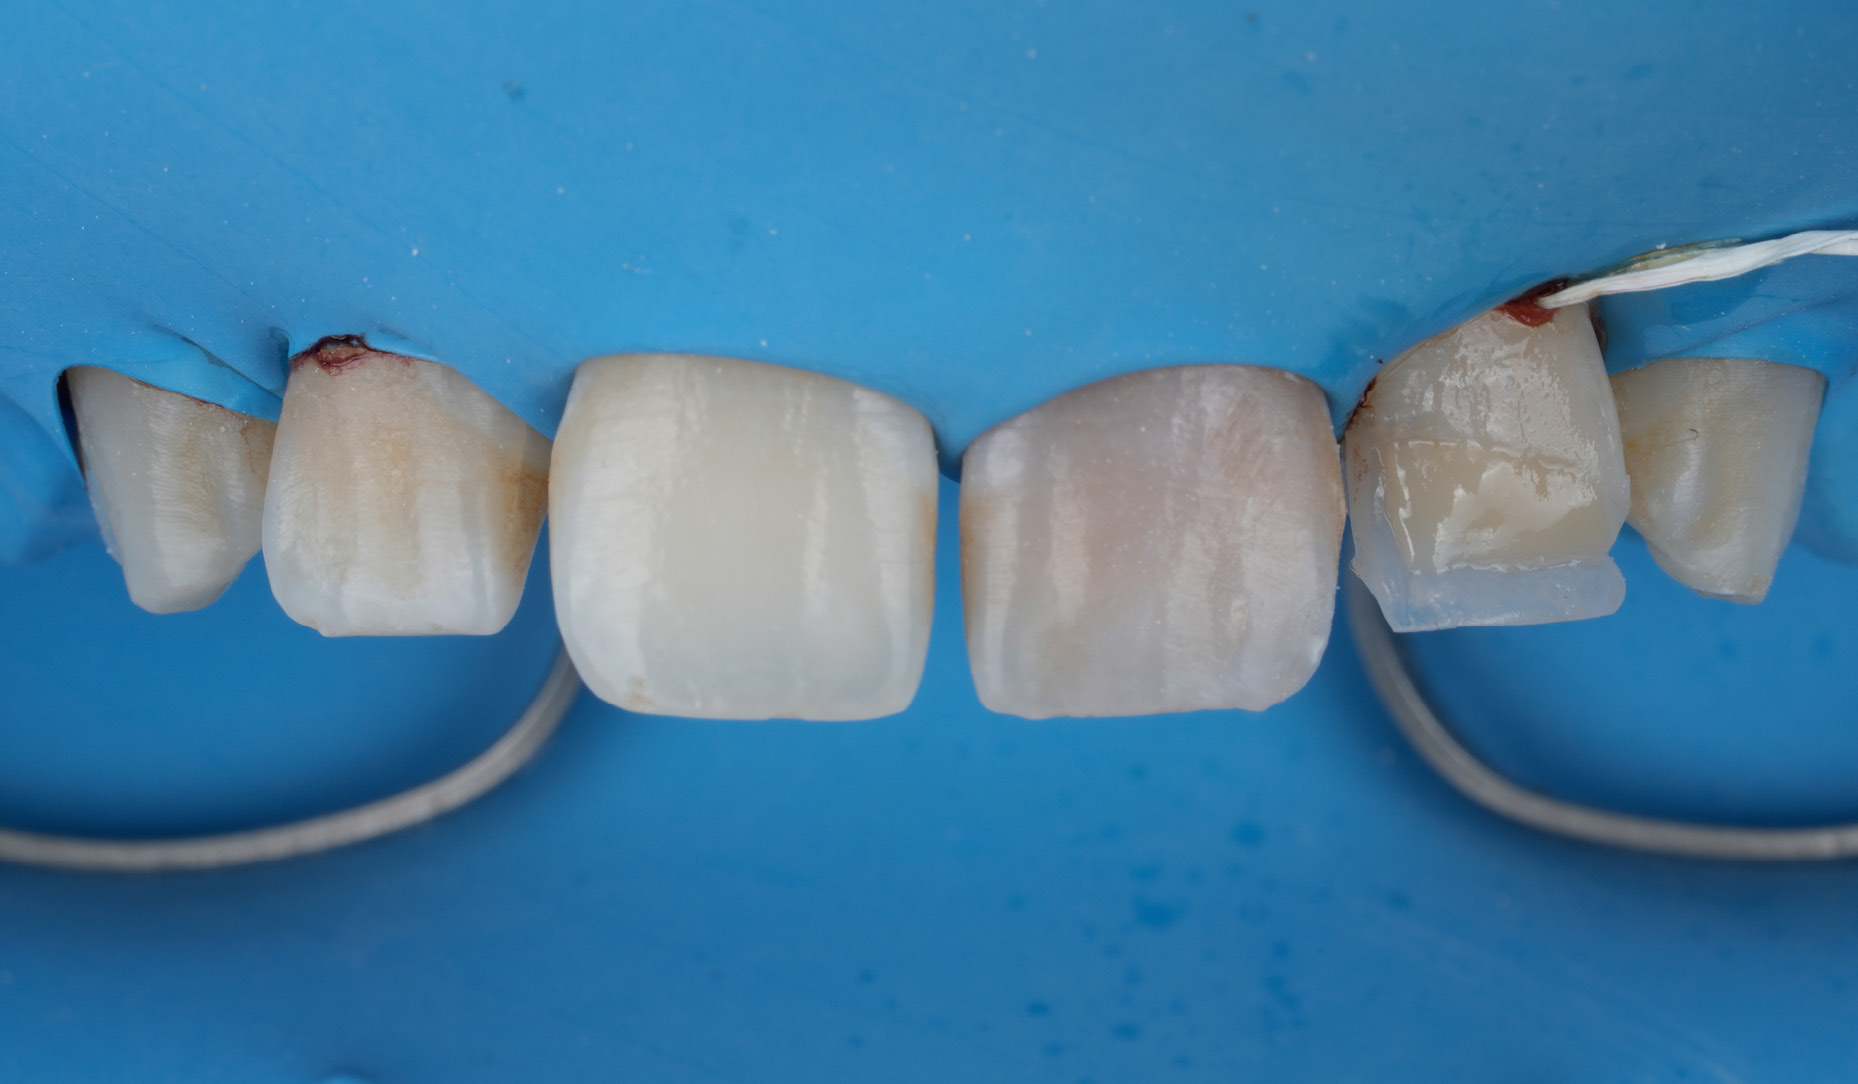
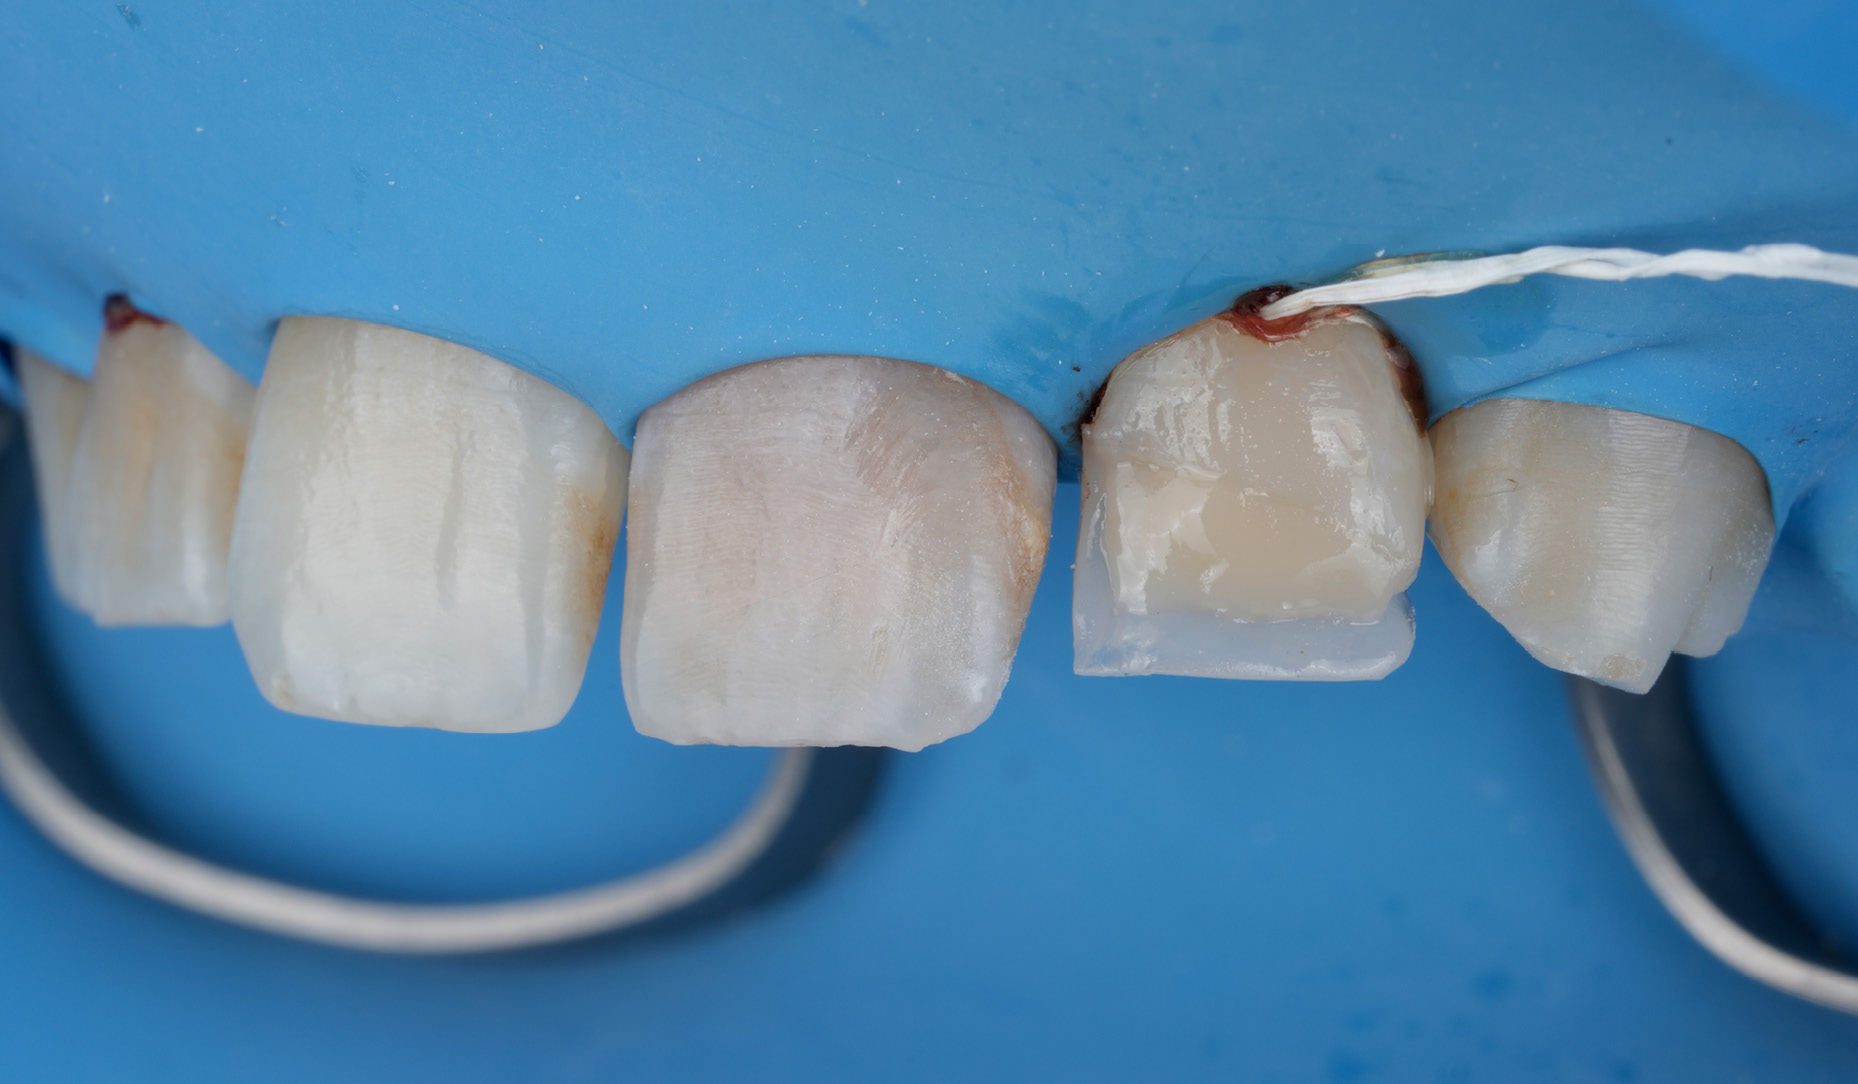
Following rubber dam isolation, the temporary restoration was carefully removed and the adhesive system (CLEARFIL SE BOND 2, Kuraray Noritake Dental Inc.) was applied. Before layering the composite, we analysed the primary and secondary anatomy of the adjacent teeth from the occlusal plane to guide the build-up.
 |
 |
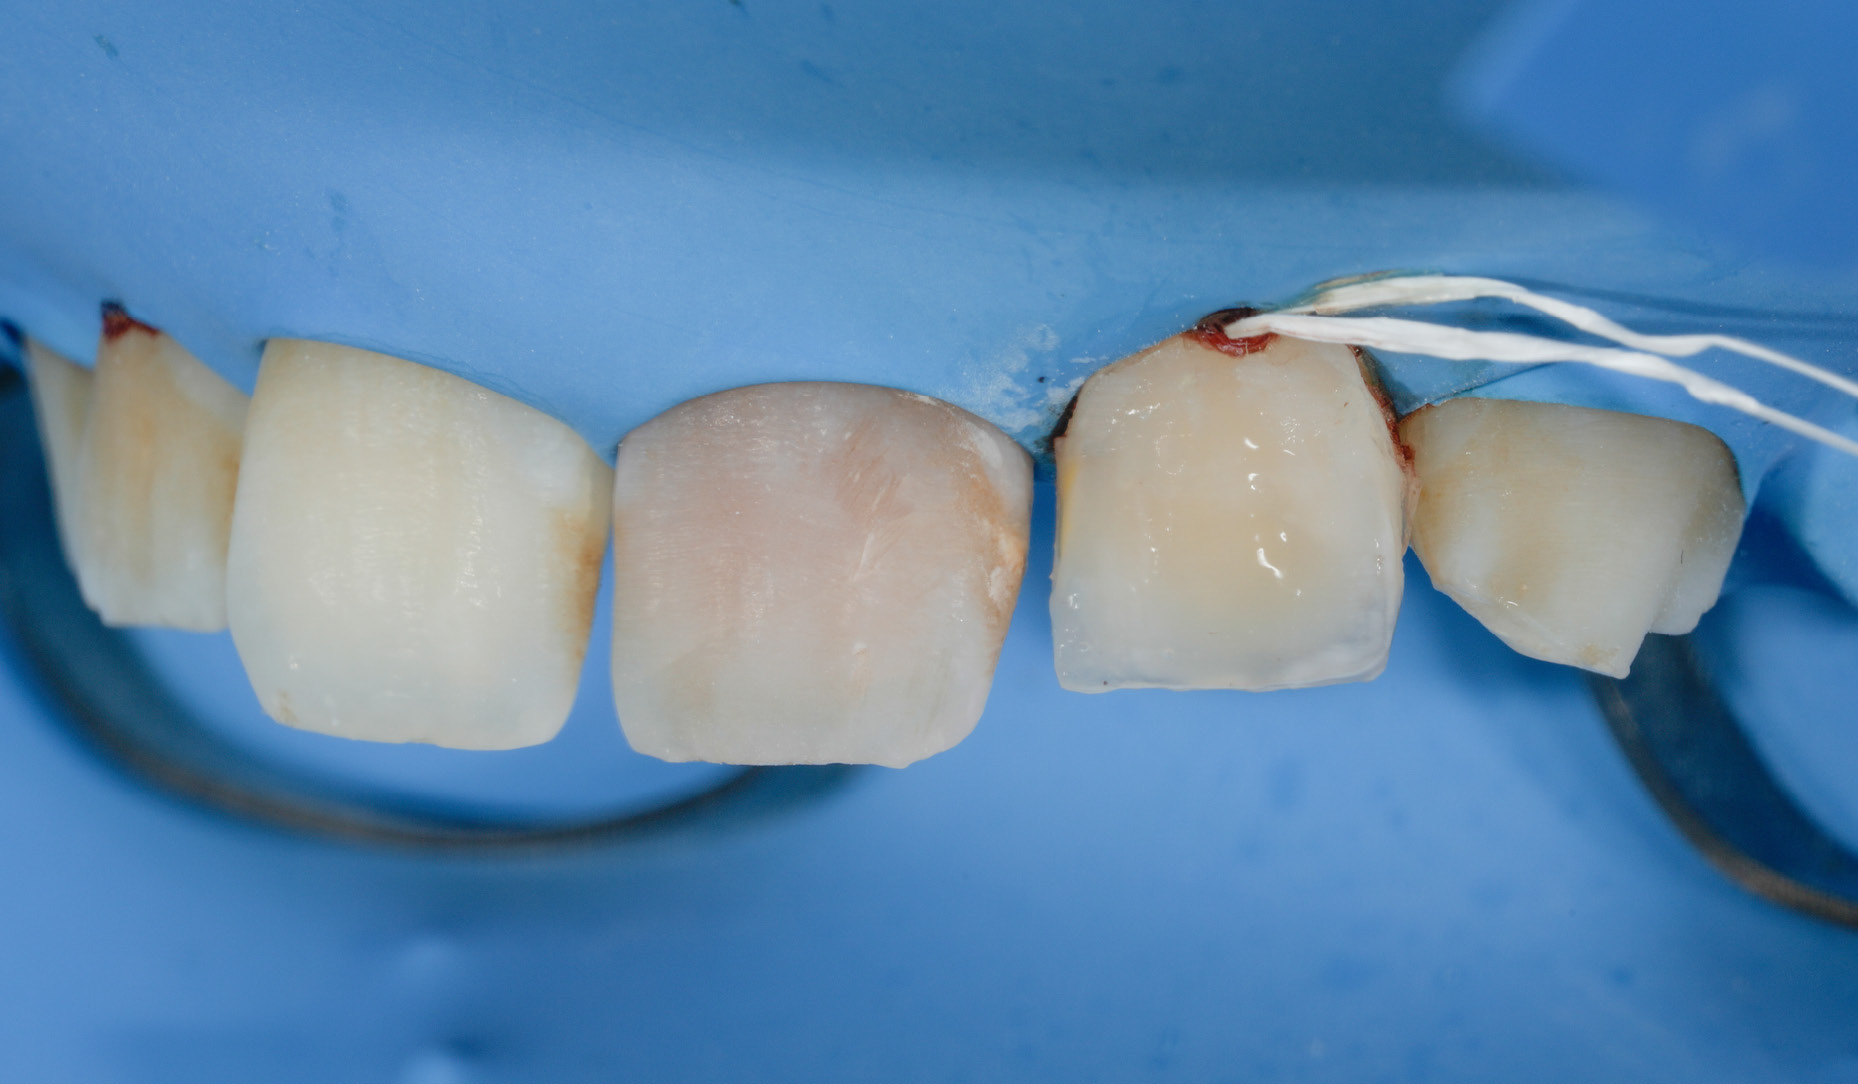
| Figure 5: Rubber dam isolation and complete removal of the provisional restoration. |
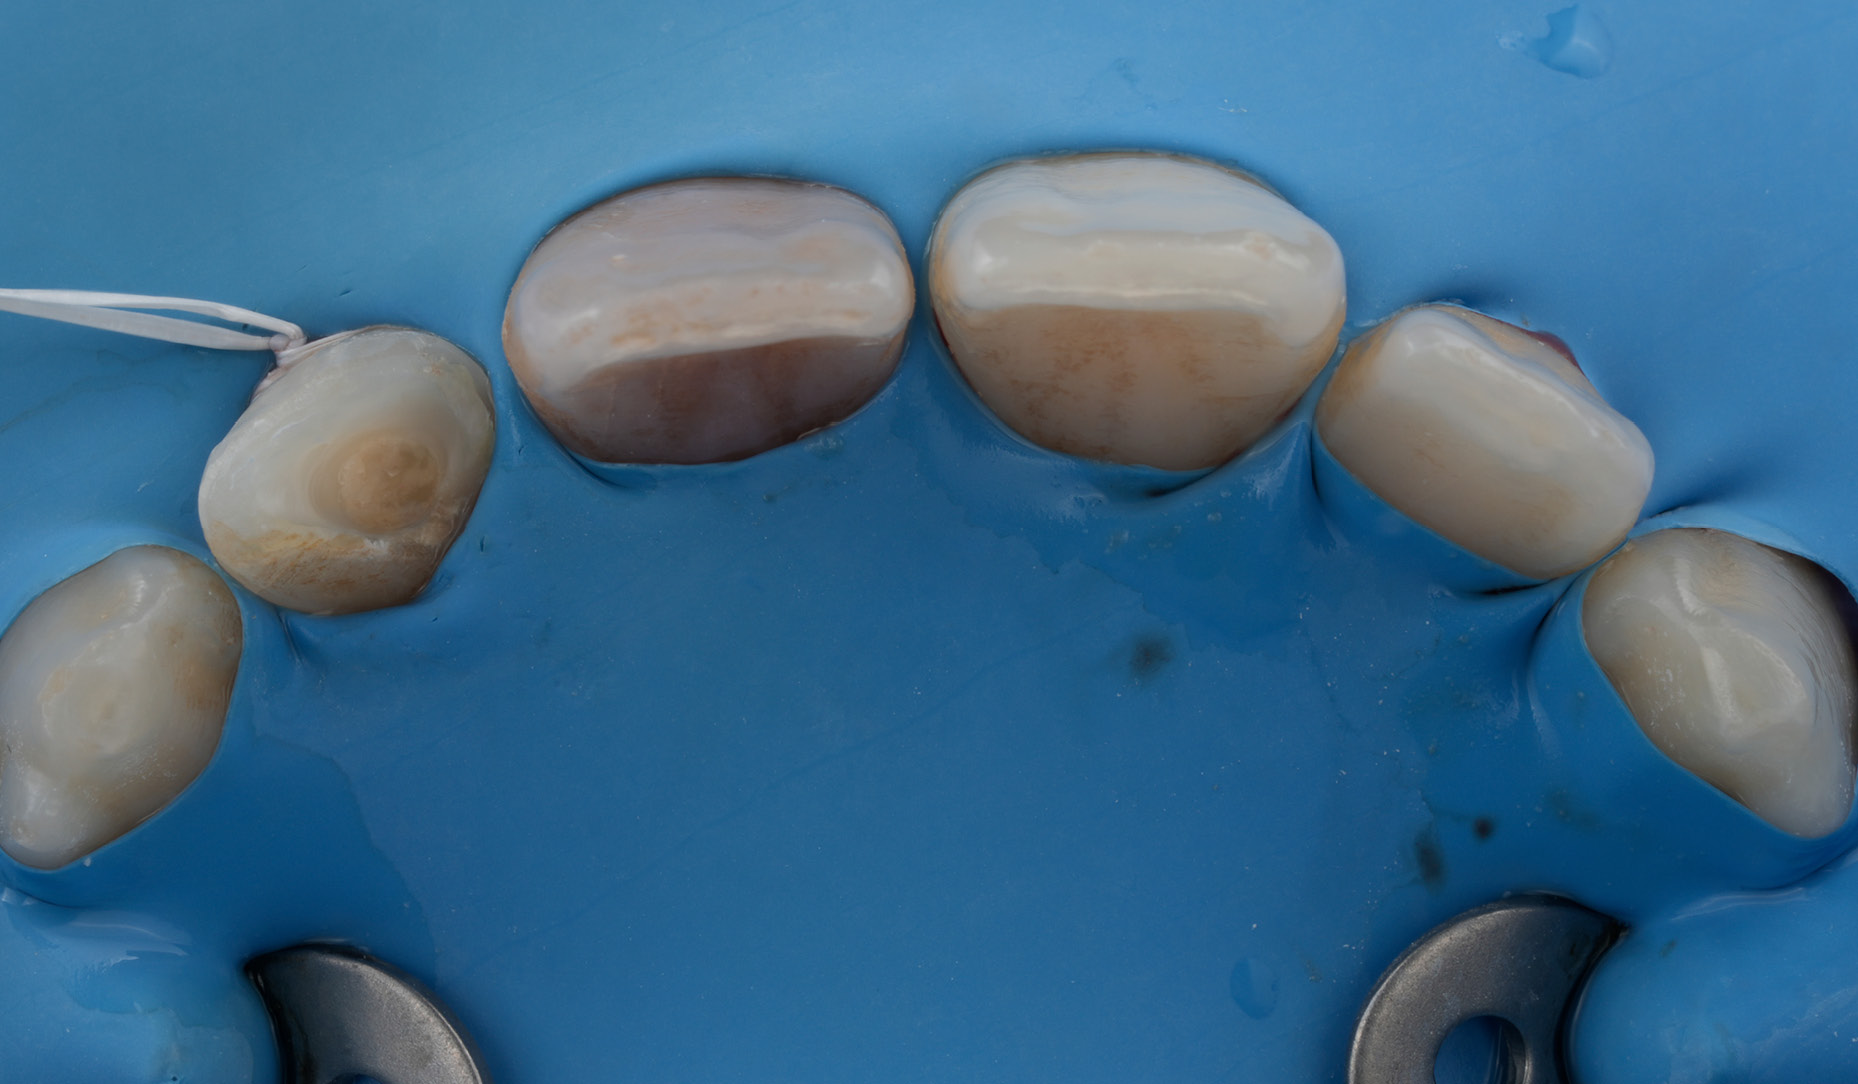
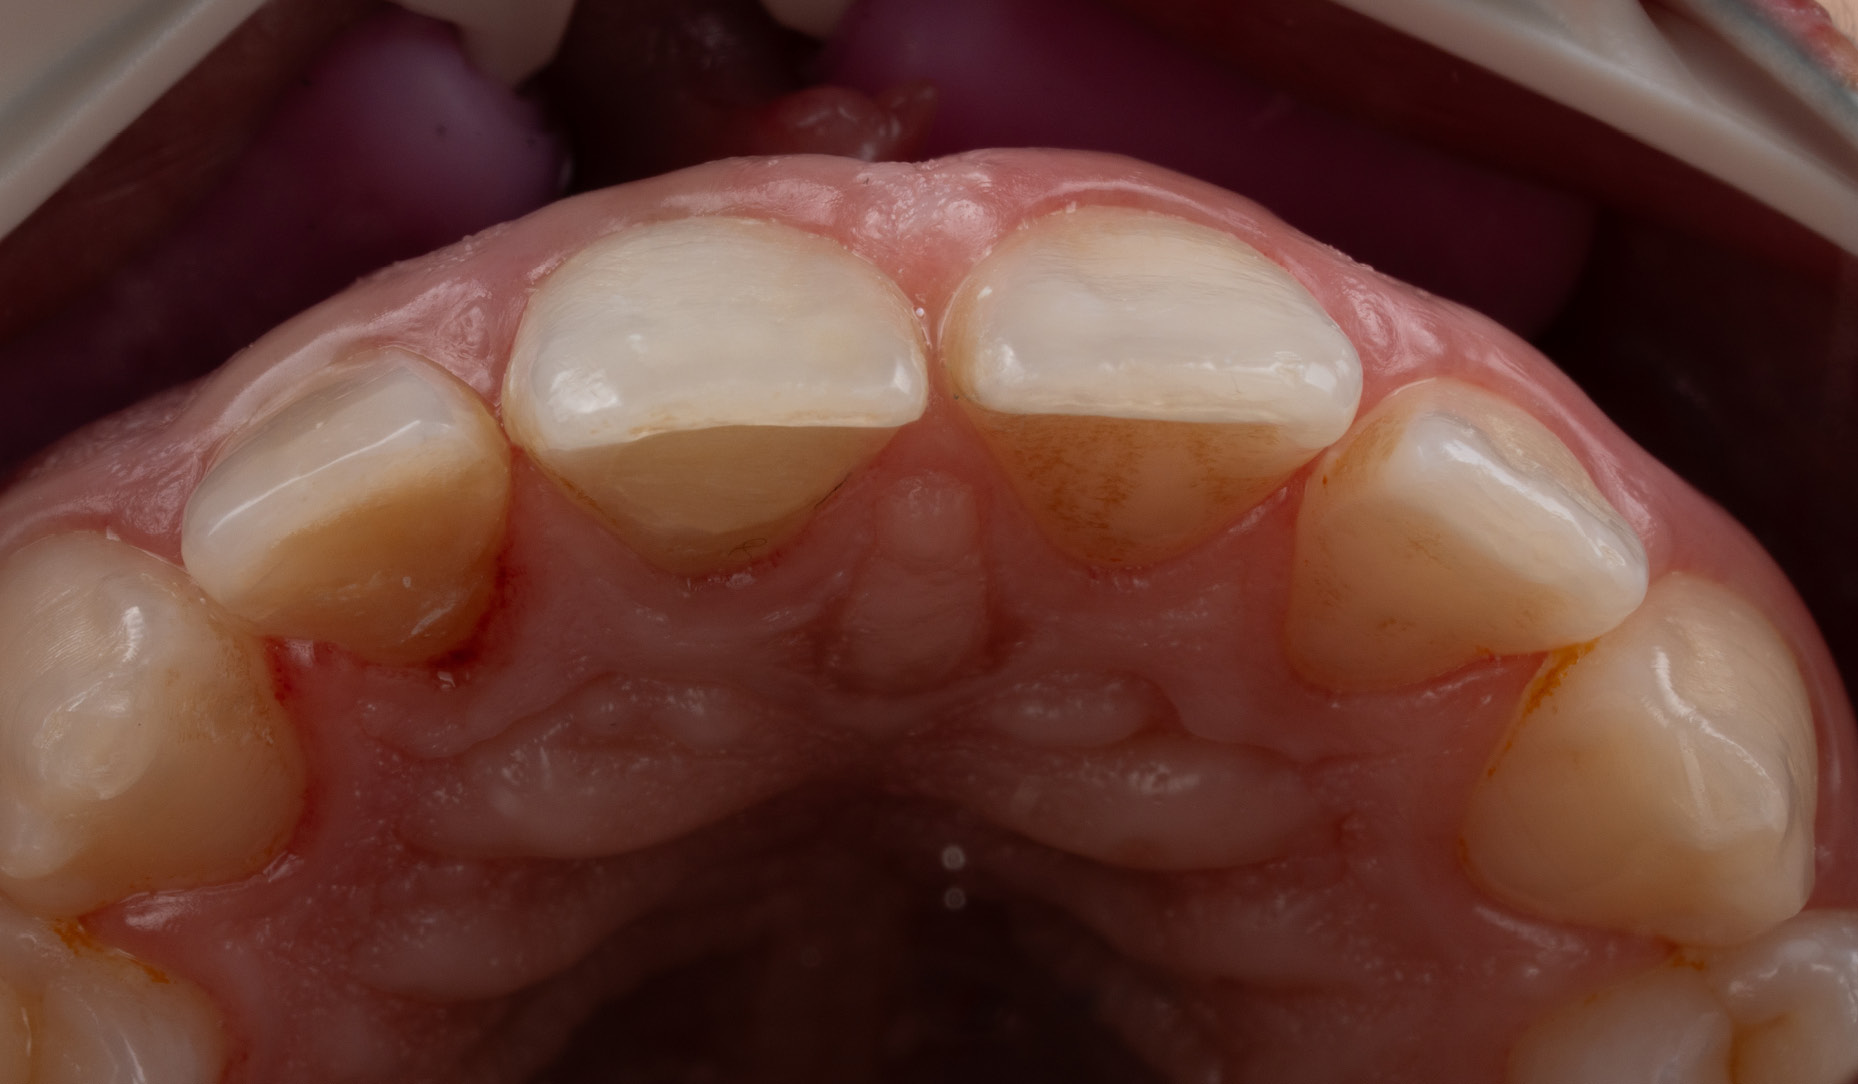
Figure 6: Occlusal view allowing for the evaluation of the primary and secondary anatomy of the adjacent teeth. |
The restoration was carried out in systematic layers:
- Dentin core: We established the artificial dentin layer using CLEARFIL MAJESTY ES-2 in shades A3D and A2D.
- Marginal ridges and incisal edge: The mesial and distal marginal ridges were built using CLEARFIL MAJESTY ES-2 A2, while CLEARFIL MAJESTY ES-2 Blue was applied to the incisal region to mimic natural translucency.
- Characterization: To replicate natural internal characteristics, we applied white and yellow tints.
- Final enamel layer: The restoration was completed with a final layer of CLEARFIL MAJESTY ES-2 WE.
 |
 |
 |
 |
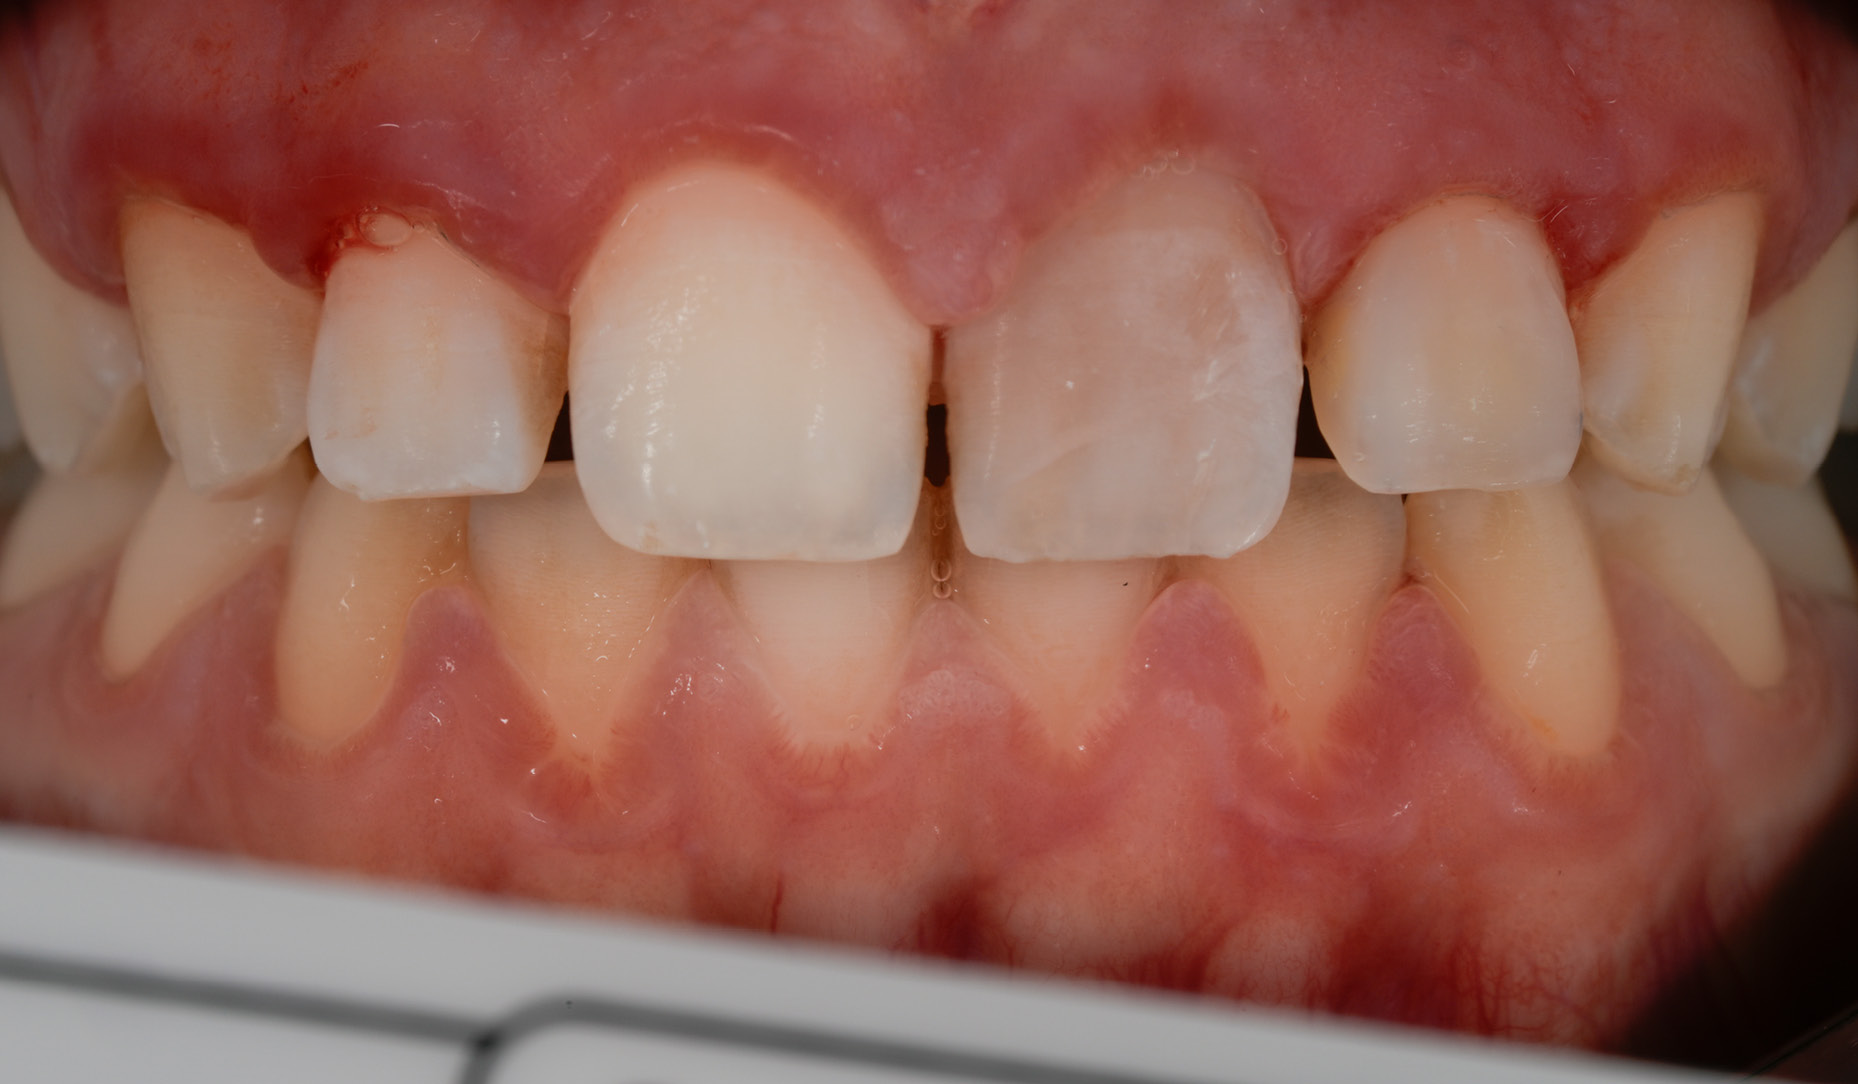 |
Figure 7: Artificial dentin layering utilizing CLEARFIL MAJESTY ES-2 A3D and A2D shades.
Figure 8: Artificial dentin layering utilizing CLEARFIL MAJESTY ES-2 A3D and A2D shades.
Figure 9: CLEARFIL MAJESTY ES-2 A2 used for the marginal ridges and CLEARFIL MAJESTY ES-2 Blue for the incisal area.
Figure 10: Immediate post-operative views after finalizing the restoration with CLEARFIL MAJESTY ES-2 WE composite.
Figure 11: Immediate post-operative view taken with a cross polarized filter. |
Managing complications
During the course of treatment, the adjacent central incisor (tooth #21) failed to respond to vitality tests. Consequently, endodontic treatment and internal bleaching were successfully performed on tooth #21 in the subsequent sessions.
Final outcome
At the final follow-up appointment, comprehensive control photographs were taken. An occlusal view confirmed the successful recreation of both primary and secondary anatomy.
Most importantly, evaluating the final result with a cross-polarized filter image demonstrated a seamless colour integration with the surrounding natural teeth.
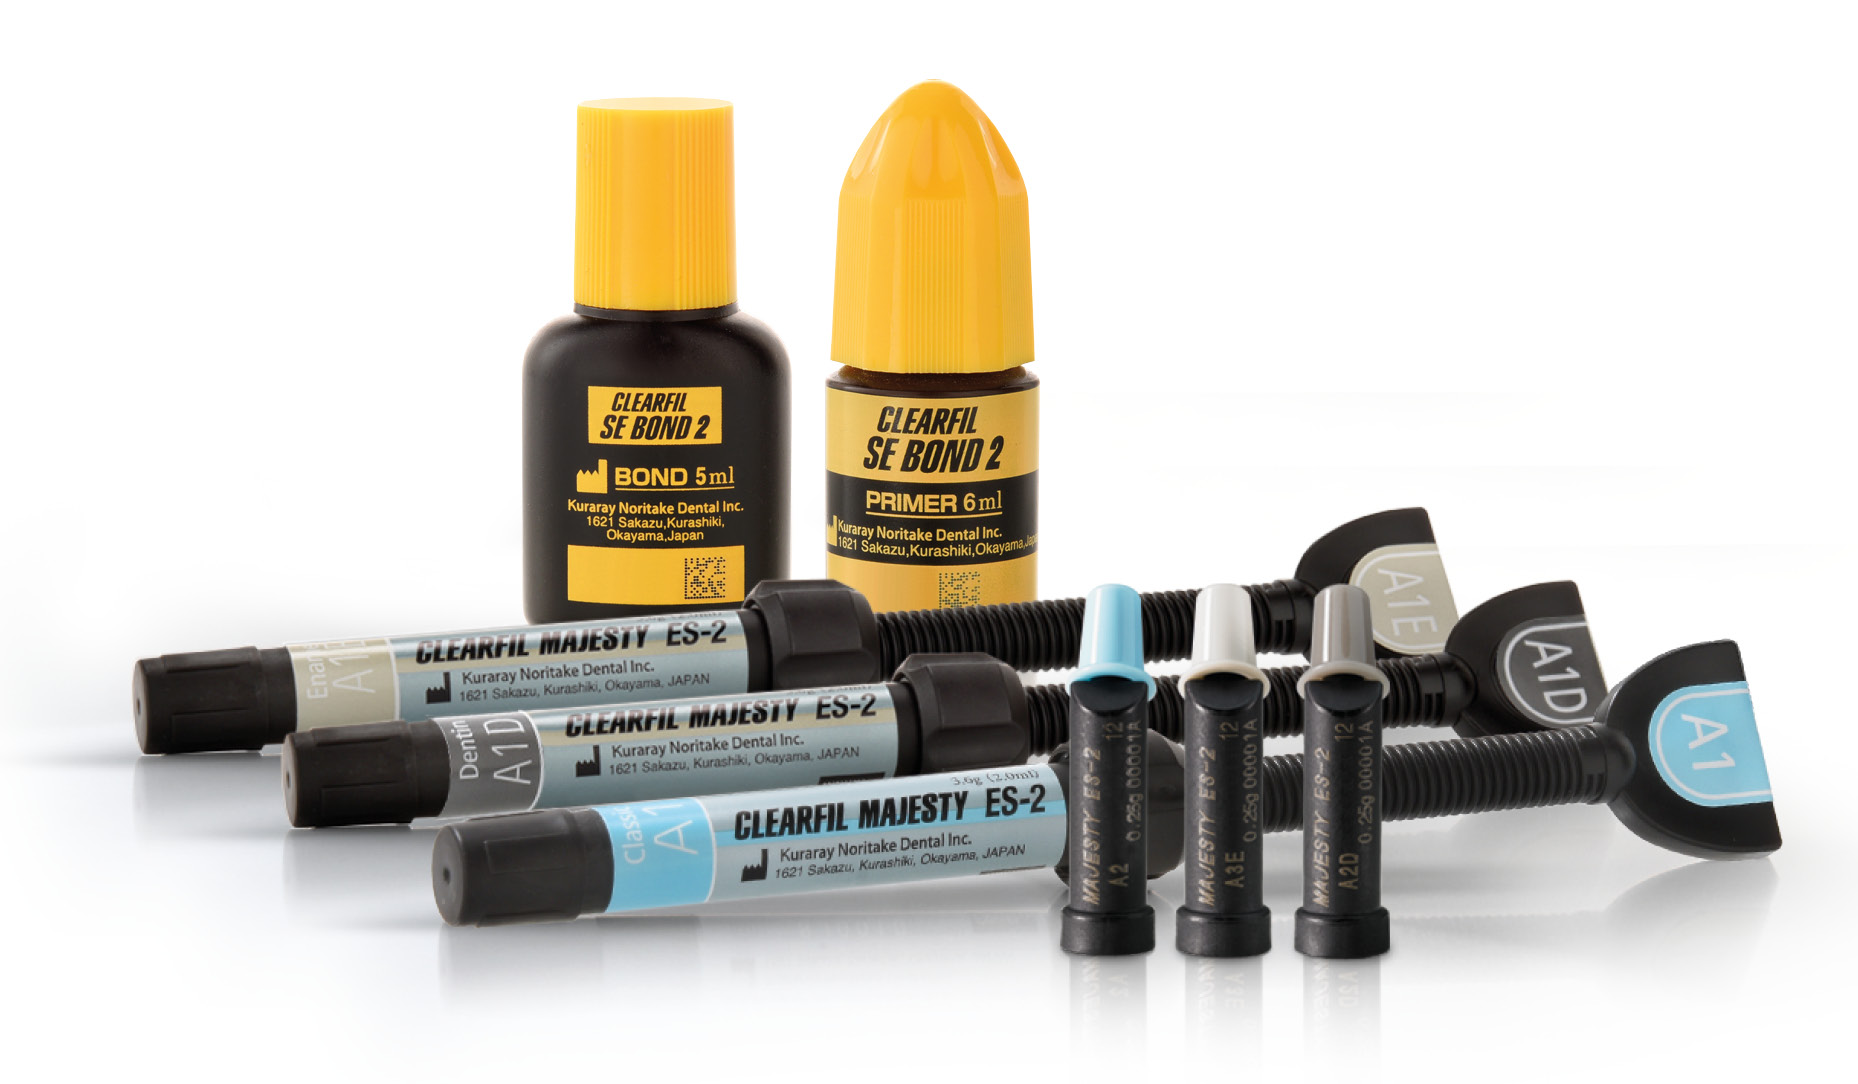
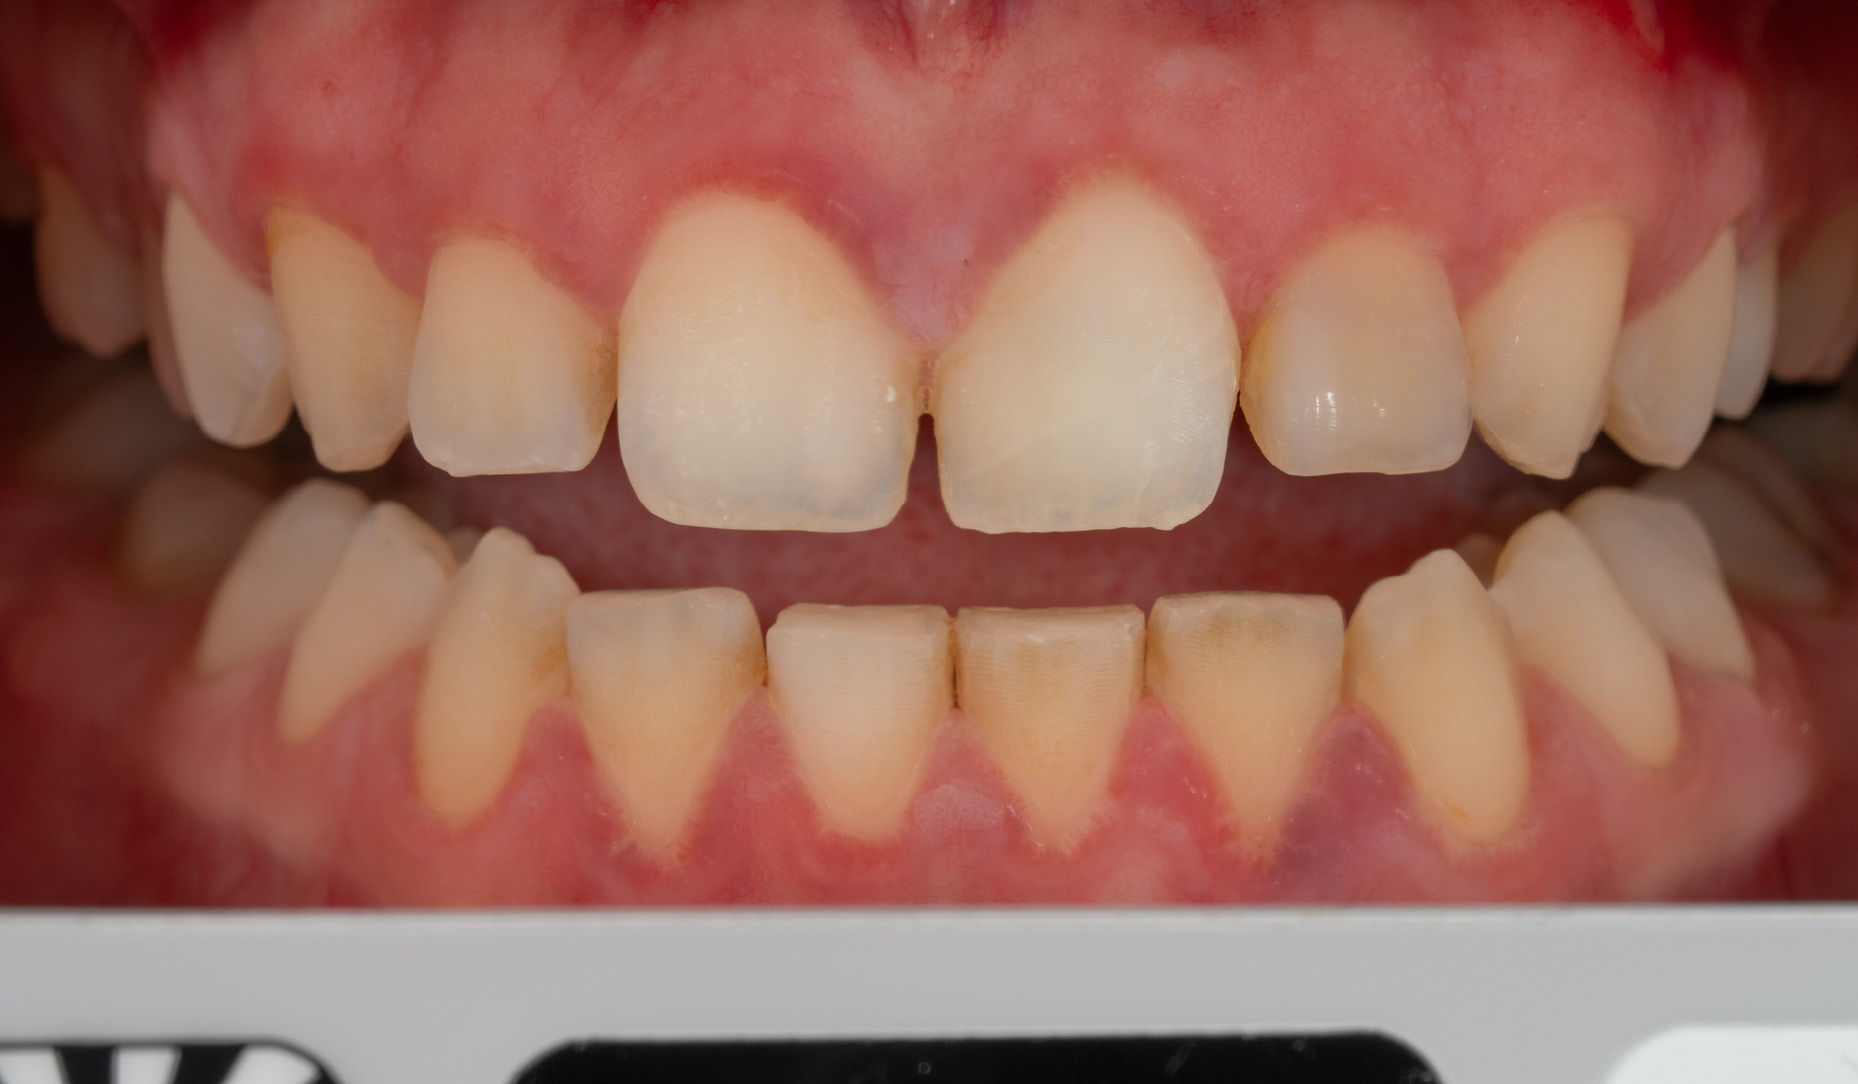
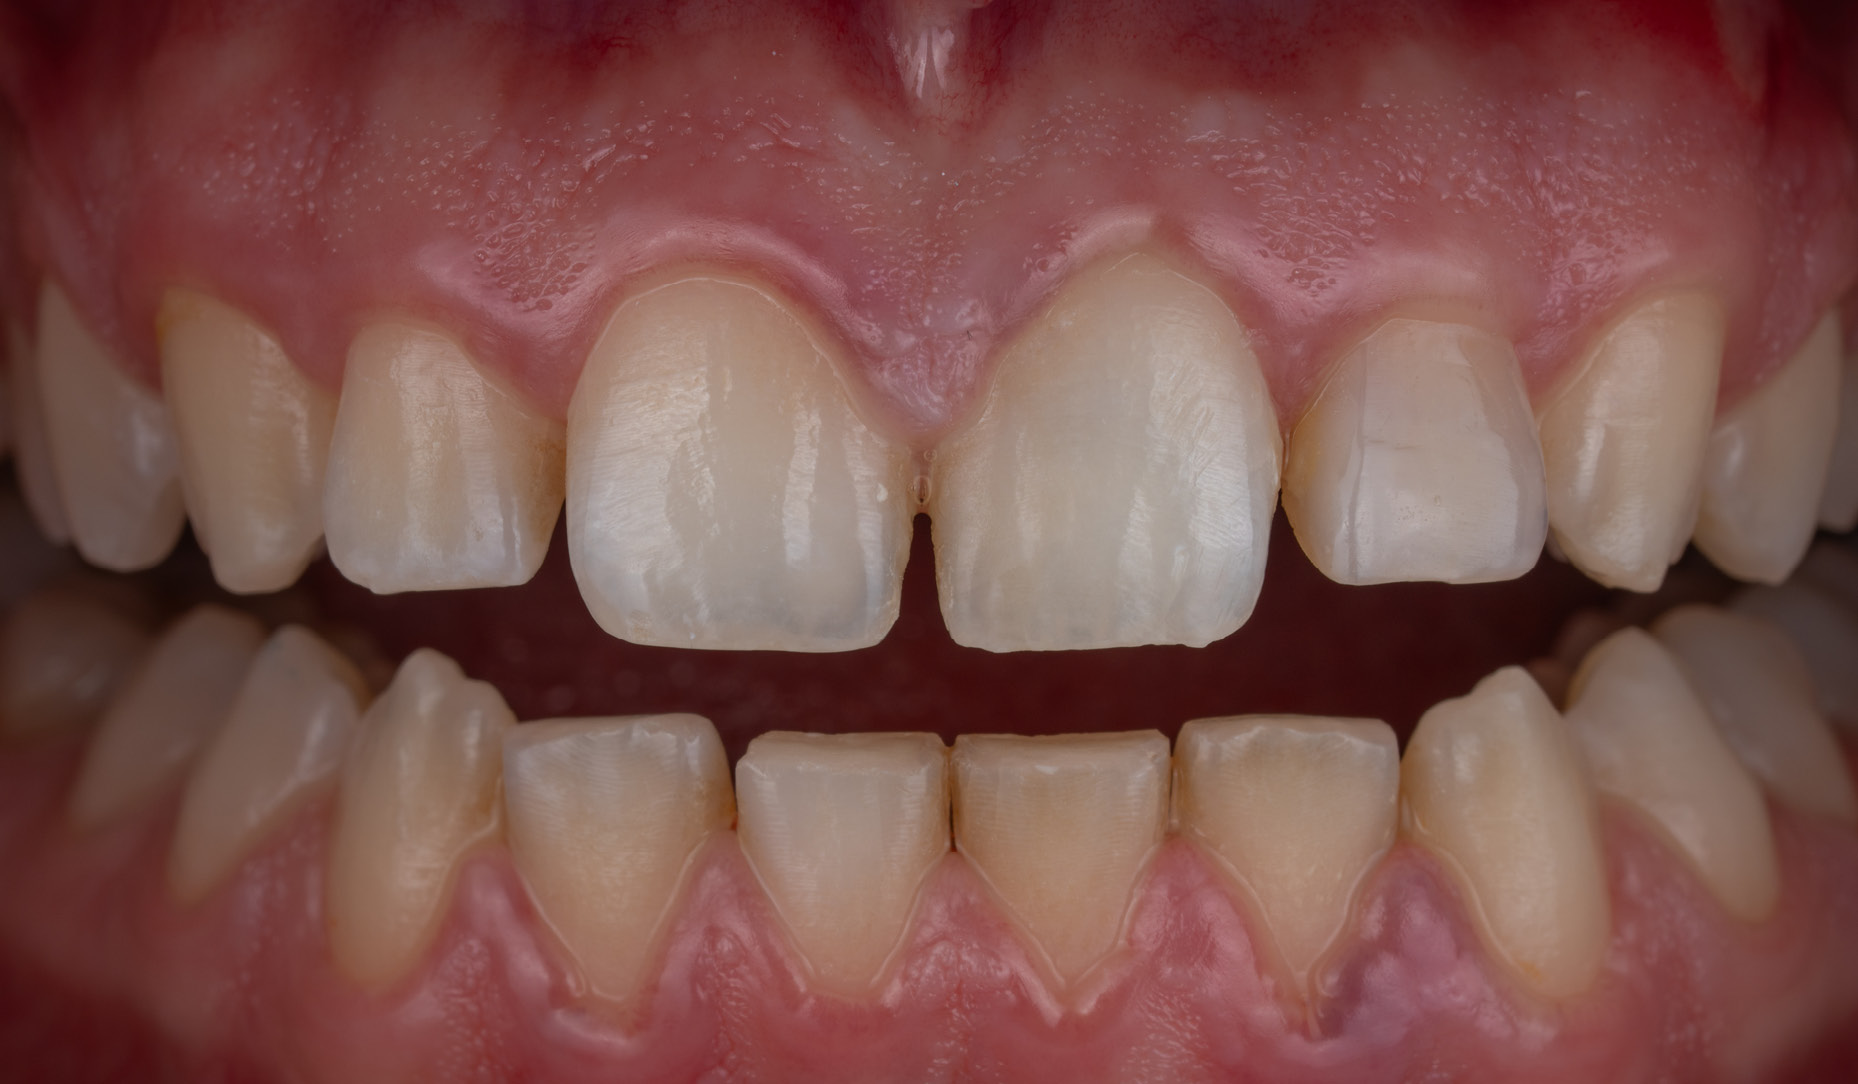
Figure 12: Occlusal view confirming the successful recreation of the primary and secondary anatomy.
Figure 13: Cross-polarized control photograph demonstrating seamless composite shade integration.
Figure 14: Final result.
About the author

Dr. Onur Alp Yünük completed both his undergraduate and doctoral education at Istanbul University. His work primarily focuses on direct composite restorations of anterior teeth and on polychromatic layering systems.